How to Fix Candle Tunneling
Candle tunneling is one of the most frustrating things that can happen to a beautiful candle. You light it, expecting that lovely warm glow—and instead, you're left with a tunnel down the center and wasted wax around the edges. As the founder of Tenfire, a luxury Irish fragrance brand, I’ve spent years perfecting how our candles burn. And I’m here to help you fix (and prevent) tunneling for good.
In this guide, I’ll walk you through simple, effective tips to make sure your candle always burns the way it was meant to: evenly, cleanly, and beautifully.
TL;DR – Quick Fixes for Candle Tunneling
- Let the wax melt all the way to the edges on the first burn
- Use foil to fix tunneling that’s already happened
- Trim the wick to 5mm before each use
- Use a candle snuffer to extinguish the flame cleanly
- Avoid short burns—aim for 1–3 hours minimum
- Try a candle warmer as a backup fix
Table of Contents
- What Is Candle Tunneling?
-
How To Fix Candle Tunneling
- Let It Burn to the Edge
- Use the Foil Trick
- Use a Wick Trimmer and Snuffer
- Burn Time: Don’t Rush It
- Try a Candle Warmer
- Relevel the Wax Manually (Last Resort)
- Prevent with the Right Candle Choice
- Store Candles the Right Way
- Watch for Room Conditions
- What To Do If It’s Too Late
- How To Stop Candle Tunneling From Happening Again
- Final Thoughts from Dawn
What Is Candle Tunneling?
Candle tunneling happens when the wax burns straight down the middle, leaving a ring of unmelted wax around the edge of the container. Not only does this look bad, but it also means you’re not getting the full value—or fragrance—out of your candle.
It usually starts with the very first burn. If the wax doesn’t melt all the way to the edge the first time, it creates a "memory ring," and from that point on, the candle will keep burning within that narrow circle. The result: a tunnel that only gets deeper with each use.
How To Fix Candle Tunneling
The good news? You can fix tunneling. Even better, you can prevent it entirely if you follow these steps.
1. Let It Burn to the Edge (First Burn Matters Most)
The first time you light your candle, let it burn until the entire surface of the wax is melted—right to the edges of the container. This can take anywhere from 1 to 3 hours, depending on the size of the candle.
Why it works: Wax has a memory. If you cut the first burn short, the wax will remember that smaller melt pool and keep following it every time you light the candle.
Founder tip: When we test our Tenfire candles, we always let the first burn run its full course. It sets the tone for every burn after that.
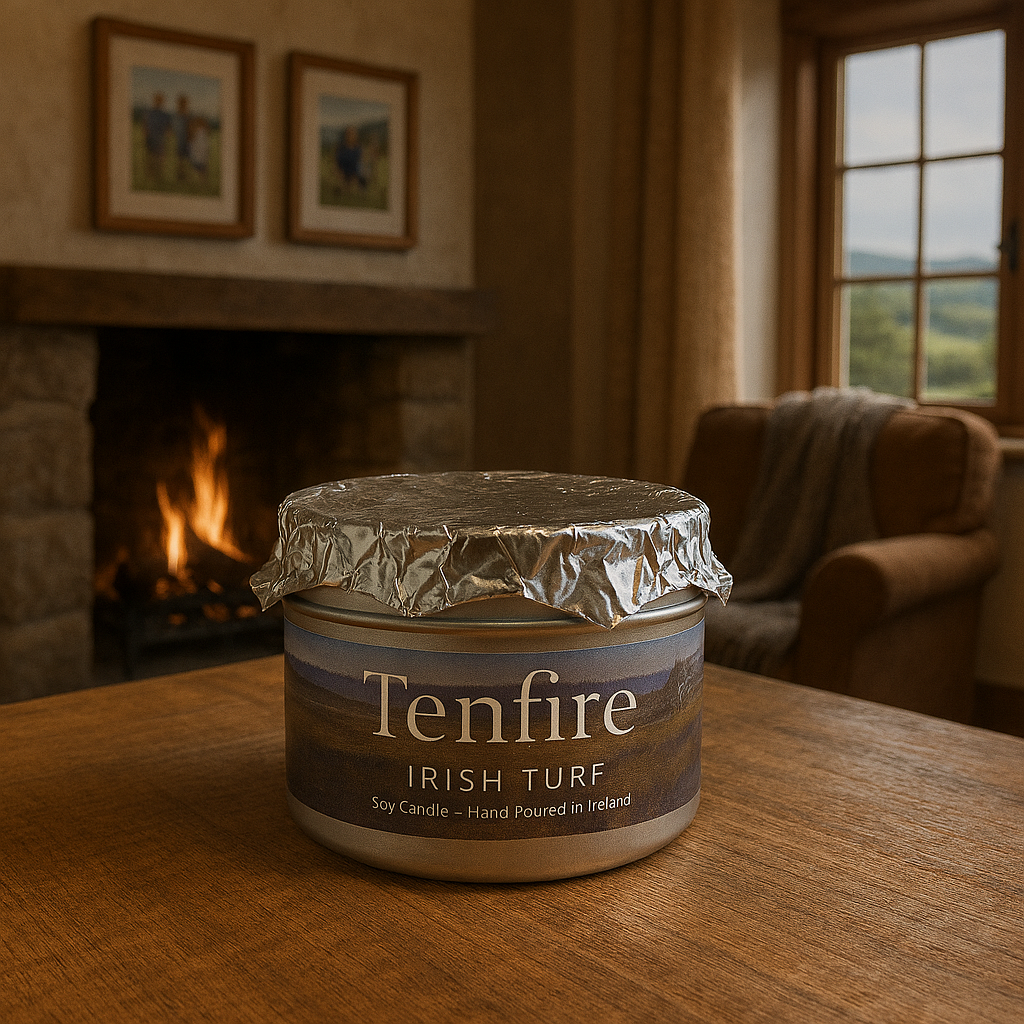
2. Use the Foil Trick to Fix Existing Tunneling

If your candle has already tunneled, don’t worry. You can fix it using the aluminum foil method:
-
Trim the wick to 5mm
-
Wrap the top of the candle with foil, leaving an opening above the flame
-
Let it burn for 1–2 hours
The foil traps heat, melting the outer wax and evening out the surface.
3. Use a Wick Trimmer and Snuffer

Long or crooked wicks can cause uneven burning, which contributes to tunneling. Before each burn, trim the wick to about 5mm. And when you extinguish your candle, use a snuffer instead of blowing it out.
Why this matters: A snuffer reduces smoke and helps keep the wick in good shape, so your candle burns better next time.
4. Burn Time: Don’t Rush It
Avoid lighting a candle unless you have time to let it burn properly. If you only burn it for 15–30 minutes, you’re likely to cause tunneling. Plan for at least an hour to allow the wax to melt fully.
Founder tip: Think of candles like tea—meant to be enjoyed slowly. At Tenfire, our fragrances are designed to bloom over time, not in a rush.
5. Try a Candle Warmer (Bonus Fix)

If you want to avoid lighting the candle at all, a candle warmer can help. It melts the wax from the bottom up and can help even out the surface if tunneling has already started.
6. Relevel the Wax Manually (Last Resort)
If the tunnel is deep and persistent, you can carefully scoop out or melt the raised wax around the edge using a heat gun or hair dryer. Be gentle and patient. Then smooth the surface with a spoon or a flat tool.
Safety note: Only do this on a flat, heat-resistant surface and never near an open flame.
7. Prevent with the Right Candle Choice
Quality matters. Candles with the wrong wick-to-wax ratio are more likely to tunnel no matter what you do. At Tenfire, we design our candles to burn slowly and evenly—but not all brands do.
Look for candles with:
-
A properly sized wick
-
Natural wax blends (soy, beeswax, or coconut)
-
A balanced container-to-wick design
8. Store Candles the Right Way

Candle storage actually plays a part in tunneling too. If a candle is stored in a place that's too cold, the wax can harden unevenly. When you go to burn it, it might not melt uniformly.
Tips:
-
Keep candles at room temperature
-
Avoid direct sunlight, which can discolor and dry the wax
-
Store them upright to protect the wick structure
9. Watch for Room Conditions
Where you burn the candle matters. Drafts from windows, fans, or vents can pull the flame to one side, which leads to uneven melting and—eventually—tunneling.
Set your candle in a still space where the air doesn’t disturb the flame. A steady, upright flame is what you’re aiming for.
10. What To Do If It’s Too Late
If tunneling has gone too far and none of the fixes work, don’t toss the candle just yet.
Repurposing ideas:
-
Use the remaining wax in a wax warmer
-
Scoop it out and melt it in a small potpourri burner
-
Break it up and mix with wax from other spent candles to make your own blend
At Tenfire, we always want you to get full value from every last gram of wax.
How To Stop Candle Tunneling From Happening Again
Fixing tunneling is one thing. But preventing it in the first place is where the magic happens.
-
Always allow a full melt pool on the first burn
-
Trim the wick before every use
-
Don’t burn for short periods
-
Use proper candle tools (like a snuffer and wick trimmer)
-
Store your candles away from drafts or direct sunlight
-
Stick with high-quality, well-tested candles
These small habits make a huge difference.
Final Thoughts from Dawn
Candle tunneling is totally avoidable—and fixable. As someone who obsesses over the perfect burn, I can tell you: a few small steps go a long way. A well-burned candle doesn't just last longer—it fills your space with fragrance the way it was meant to.
So light that candle, take your time, and enjoy every second of it.
Happy burning,
Dawn
Founder, Tenfire